
To use OnMerge Images, you must have Microsoft Word with OnMerge Images already installed.
Word's Mailings Ribbon can be shown at any time by clicking the Mailings tab in the menu:
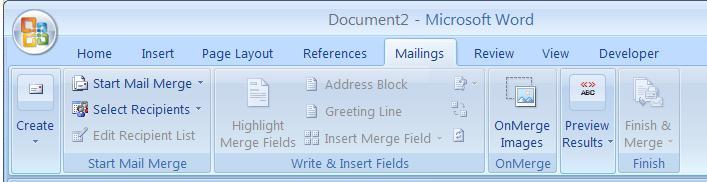 Word 2007
Mail Merge Basics
The Mail Merge process works with two elements: the master document (or form letter) and with a data source. The data source can be another Word document, a spreadsheet, an Outlook Address Book, a database, or other data source. Whatever the exact nature of your data source, it is always divided into one or more rows, each row containing one or more fields (also known as columns).
Word 2007: Comma- and tab-separated (CSV, TSV, Text) data does not work with OnMerge. This is due to a limitation in Word.
Word 2010 and later: If your document is in the old (.doc, .dot) format, Comma- and tab-separated (CSV, TSV, Text) data does not work with OnMerge due to a limitation in Word. They work fine with new Word document format (.docx, .docm, .dotx).
The Mail Merge process will repeatedly print the master document, once for each row of the source data, but with a twist: you can specify that each copy of the master document must have some of the source data fields inserted into the result at specific places. Since there is a the master document made for each row of the source data, only the data fields from that row are inserted into the corresponding copy of the master document.
Setting Up a Mail Merge
The master document is a regular Word document, but the data source requires setting up. The easiest way to do that is to use the Mail Merge Wizard:
Select Mailings | Start Mail Merge | Step by Step Mail Merge Wizard in Word's Ribbon and follow directions.
If the Mail Merge Wizard doesn't meet your needs, access Word's Help and search for "mail merge," or consult a local expert.
Inserting an OnMerge Image
You need to have a master template document, and to be connected to a data source. Click the OnMerge button as described below; you will see a dialog box which is described in the next topic.
To insert an OnMerge Image, select the Mailings Ribbon in the menu, then click OnMerge Images.
Changing an Existing OnMerge Image
You need to have a master template document, and to be connected to a data source.
To edit an OnMerge Image, click on the picture so that eight small squares connected by lines appear around it, then double-click that picture to bring up a dialog box which you can edit. That dialog is described in How to Pop Up OnMerge Images.